- The surface tension measurement process is also similar to the ones explained earlier.
- Starting off, you need to create a new project while filling in the project name, image calibrator, density differential, and acceleration of gravity explained in the which calibrations are needed for measurement? Artikel.
- Once the project is created, tap the image capture button located at the bottom-left corner of the screen.
- Wenn sich die Kamera öffnet, stellen Sie den Abstand zur Nadel so ein, dass Sie den Fokus nicht verlieren.
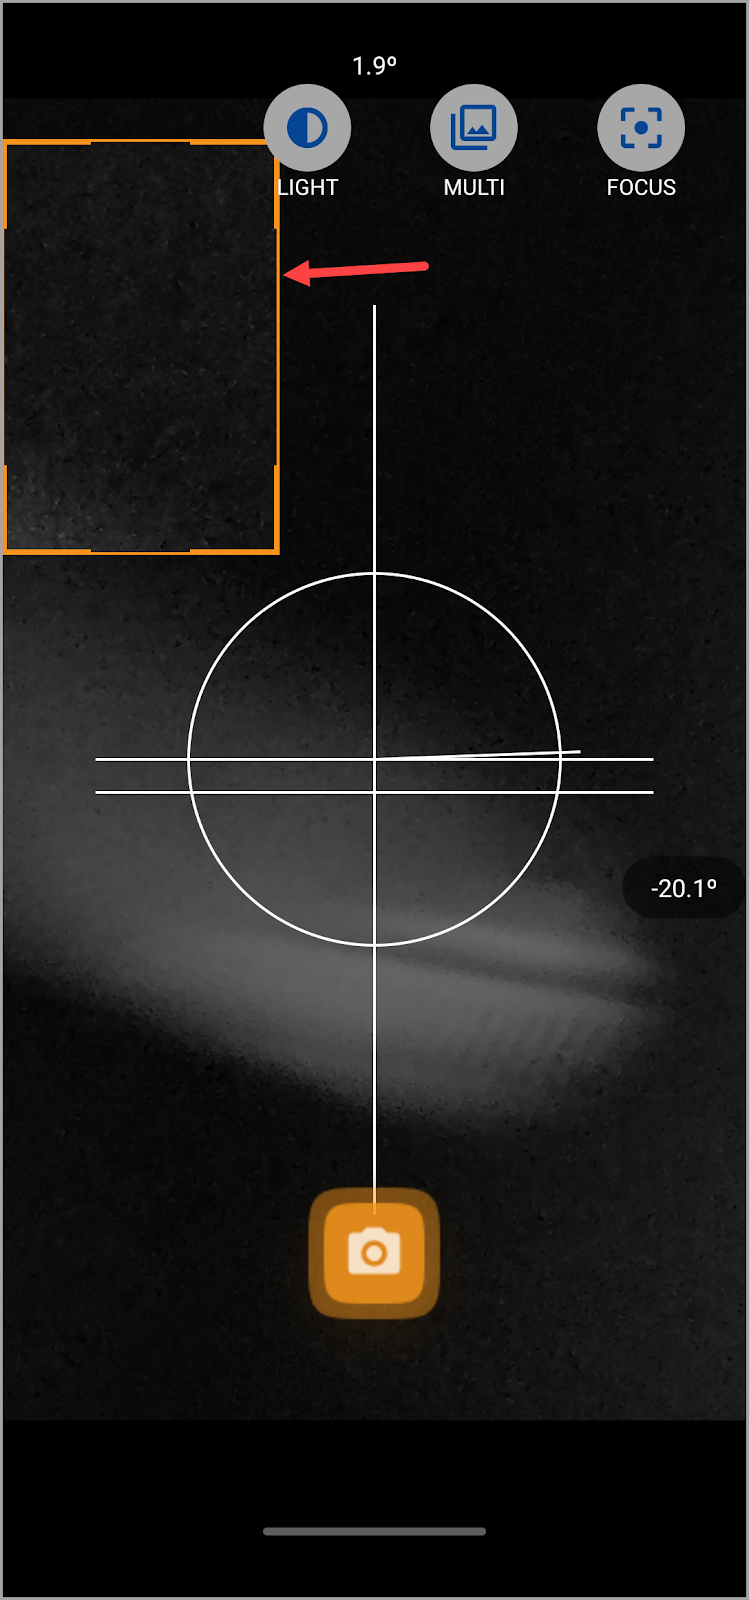
- Ziehen Sie das orangefarbene Feld und passen Sie es an, um den Bereich auszuwählen, den Sie aufnehmen möchten.
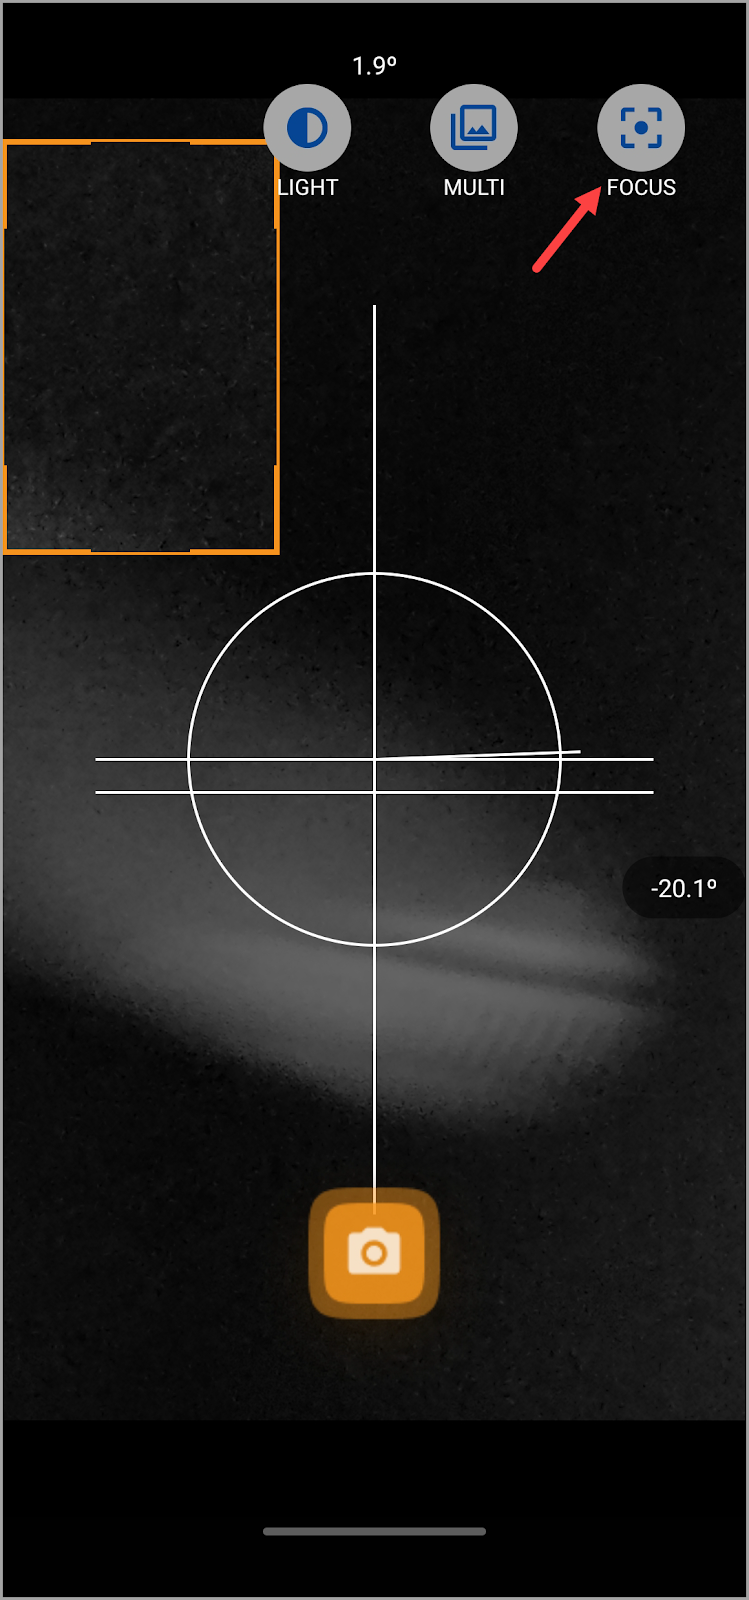
- Um es zu vereinfachen, tippen Sie auf die Schaltfläche Fokus oben auf dem Bildschirm, damit Sie den Fokusschieberegler anpassen können, um die besten Ergebnisse zu erzielen. Dies liegt daran, dass die beste Vorgehensweise darin besteht, so nah wie möglich am Tröpfchen zu sein und gleichzeitig sicherzustellen, dass der Fokus nicht verloren geht.
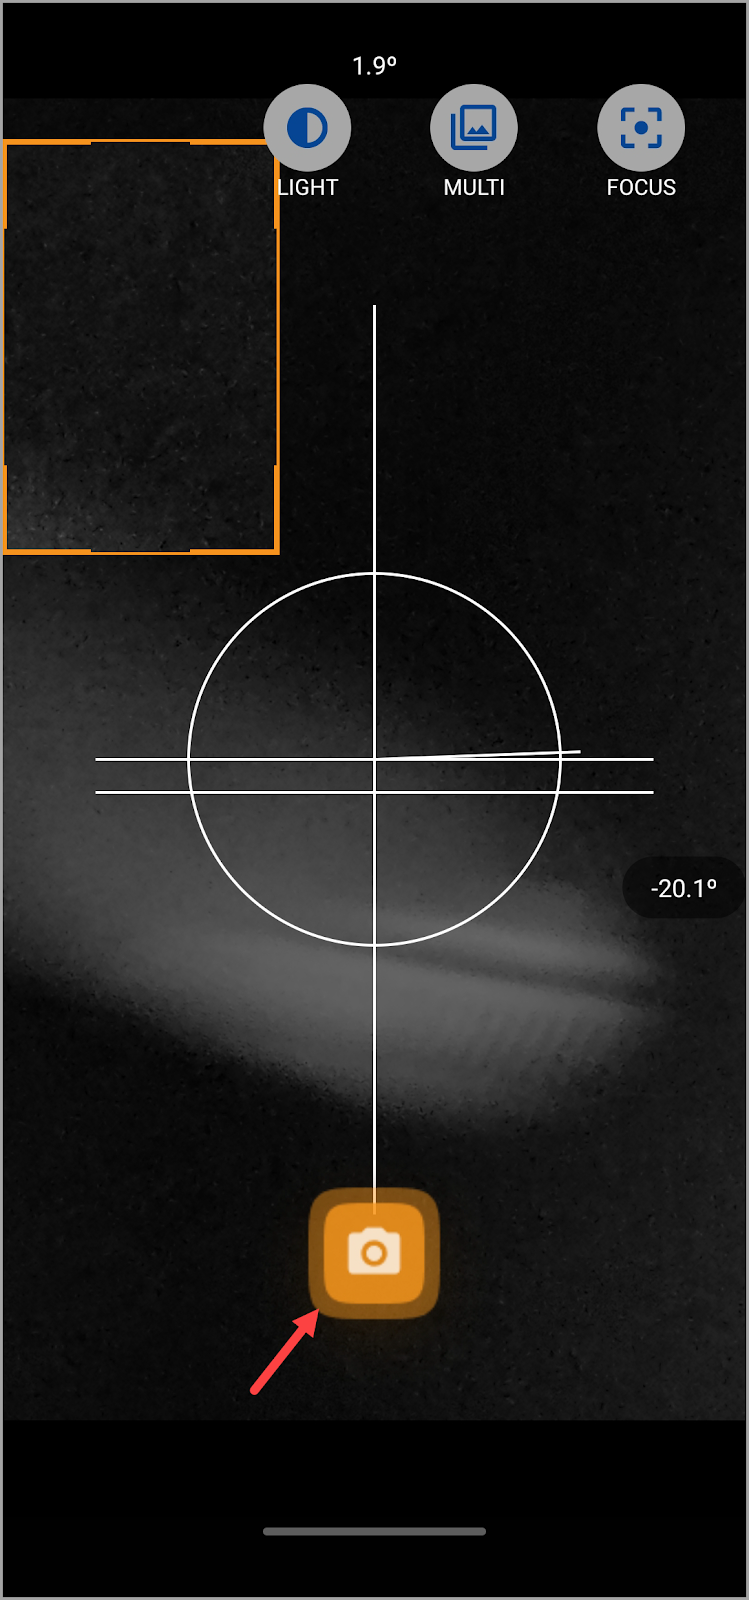
- Sobald Sie die erforderlichen Anpassungen vorgenommen haben, tippen Sie auf die Aufnahmeschaltfläche. Dadurch wird eine Vorschau des aufgenommenen Bildes mit den Details zum Kontaktwinkel angezeigt.
- However, it is recommended to generate a tear-shaped droplet large enough that it is about to detach from the needle so that the shape deforms sufficiently by gravity for this type of measurement.
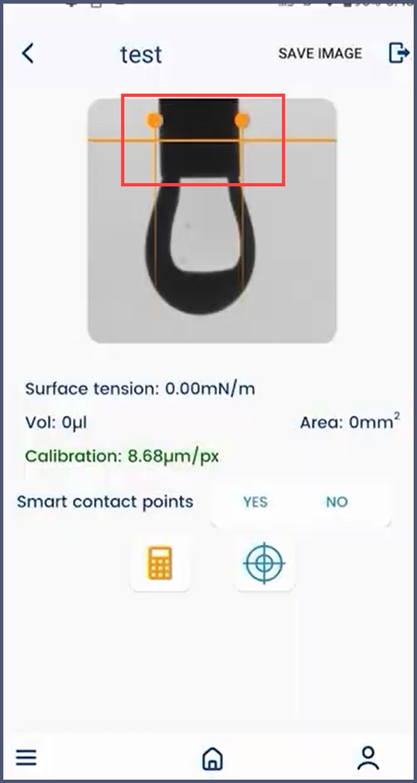
- Once the image is captured, the measurement details screen is displayed.
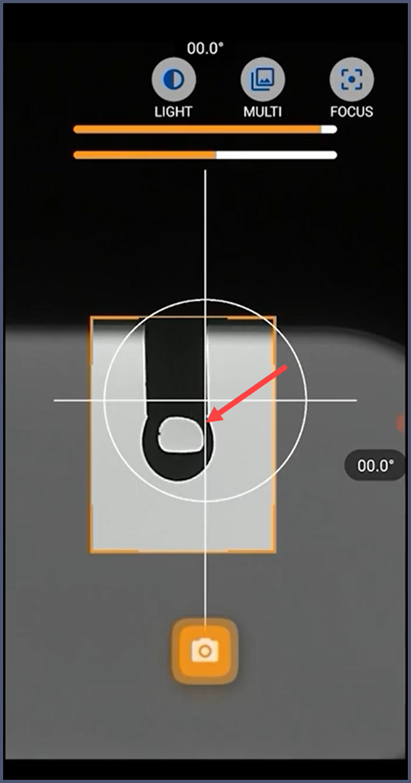
- Here, adjust the orange vertical bar to the position at which the droplet meets the needle.
- Adjust both points of the vertical bar to the sides of the droplet. Once that is done, tap the Calculate button.
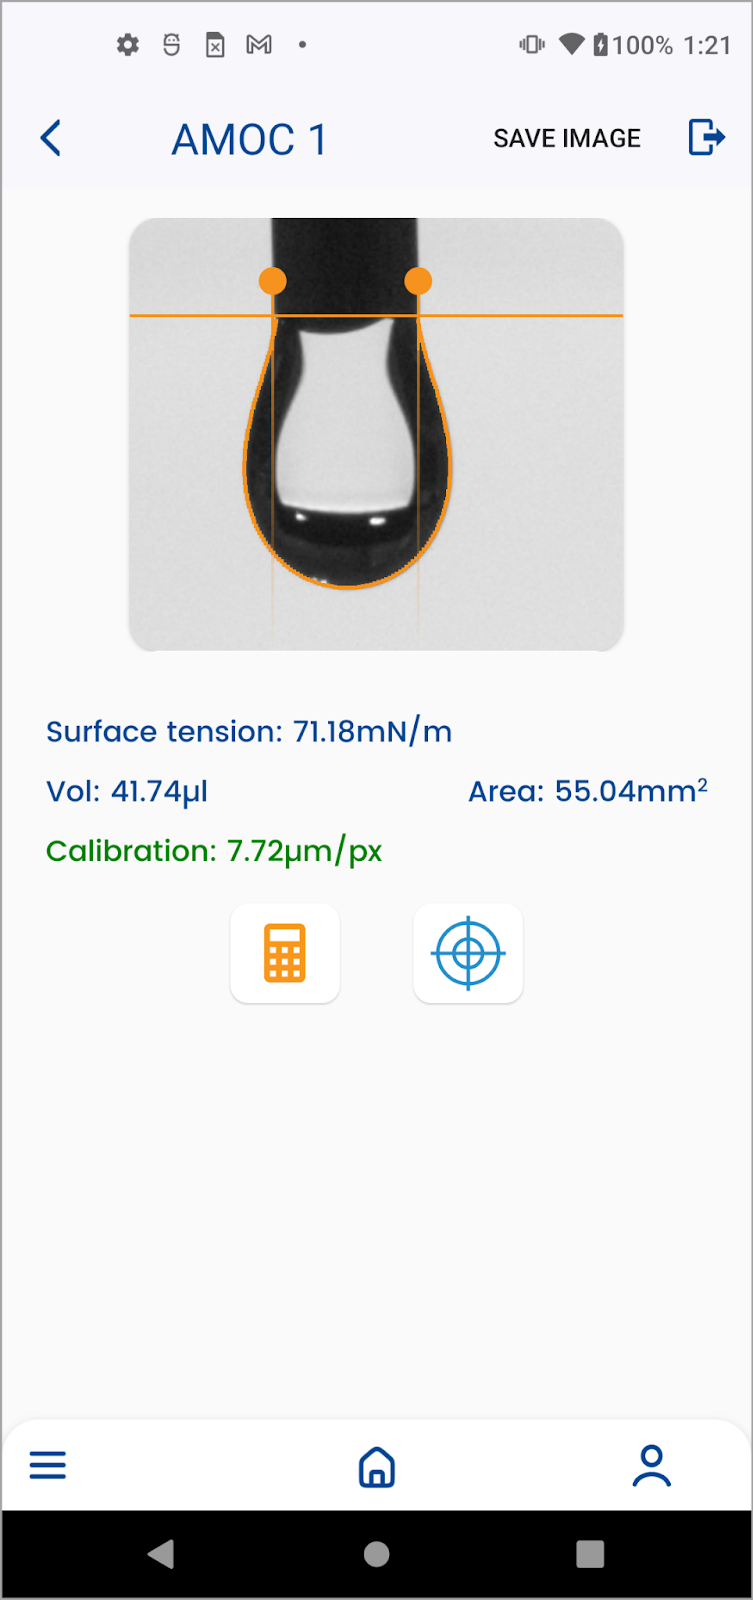
- Once calculated, you get the surface tension, volume, and the area of the droplet.
- As explained earlier, the color in which the calibration value is displayed depicts whether the value is correct or incorrect (green indicates correct whereas yellow or red indicates incorrect).